CREATING A SESSION FROM SCRATCH
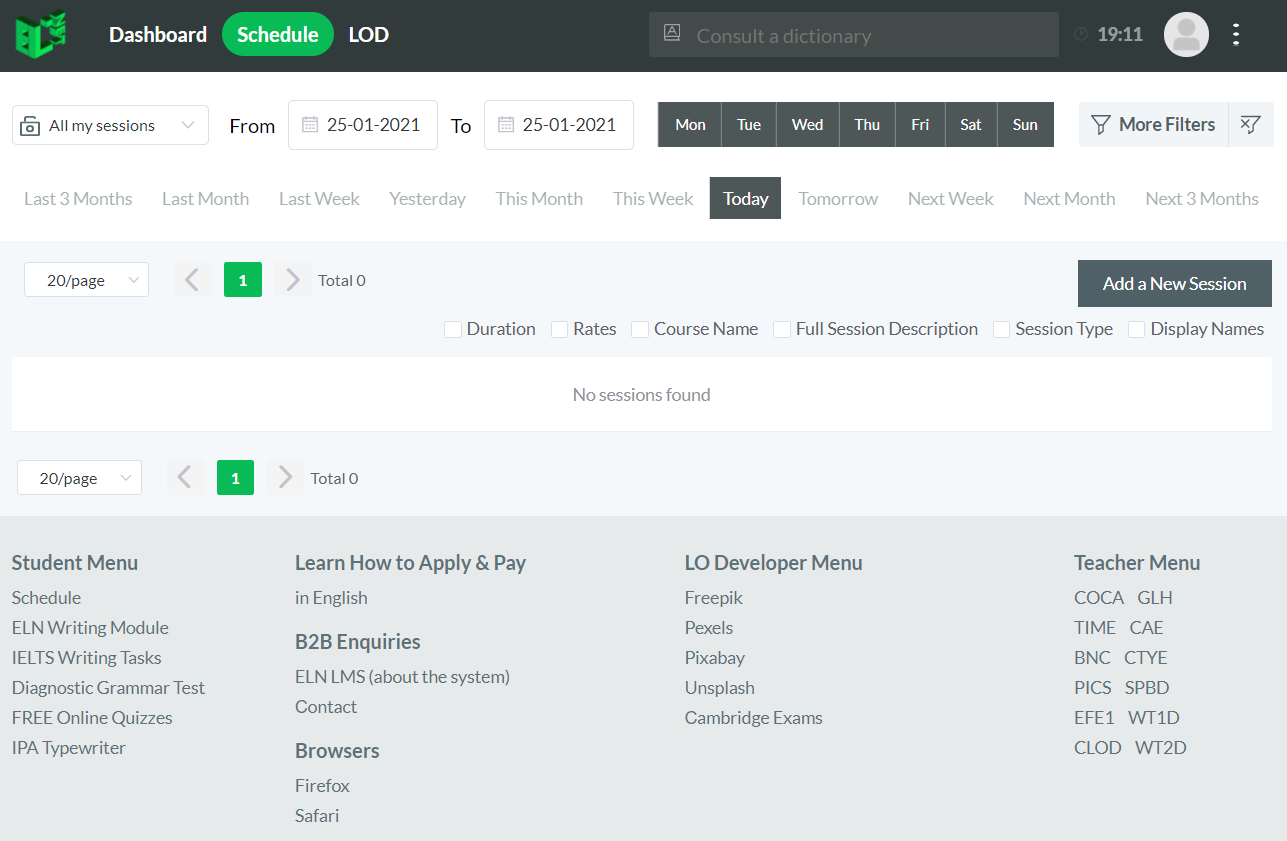
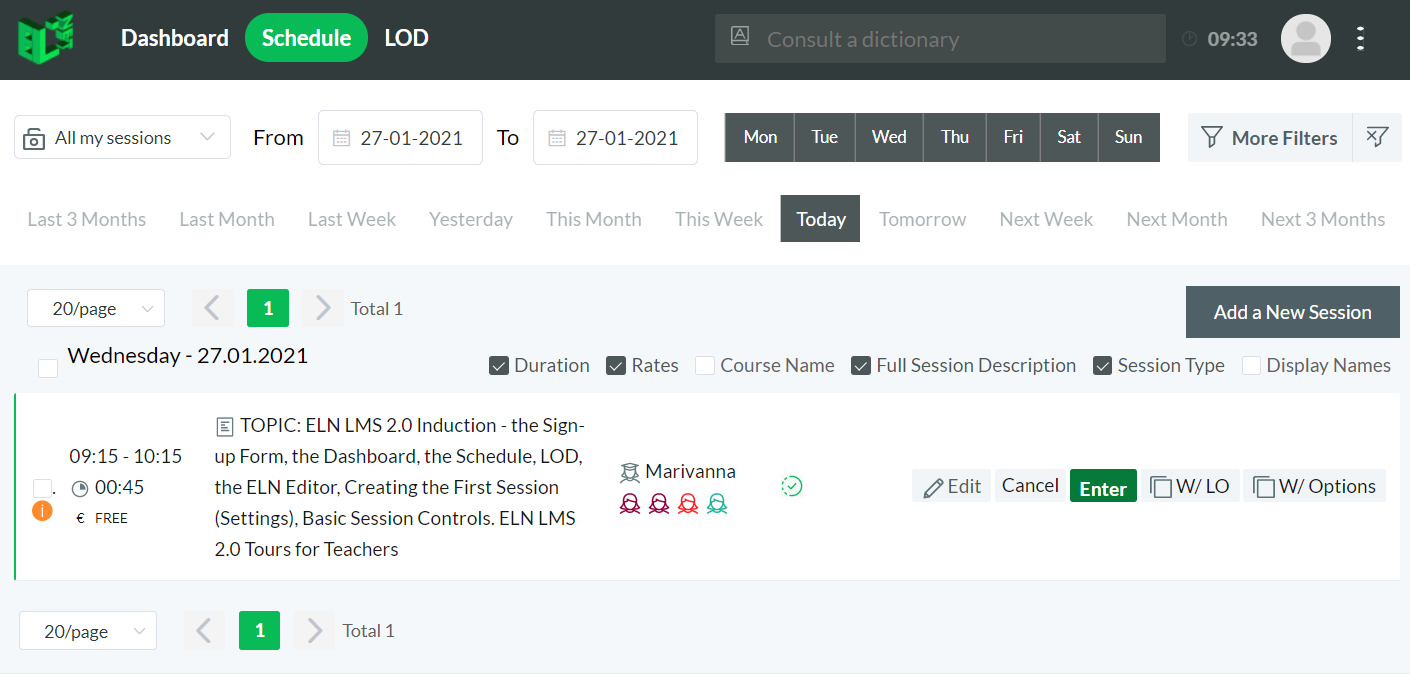
A SESSION IN PROGRESS: SCHEDULE VIEW
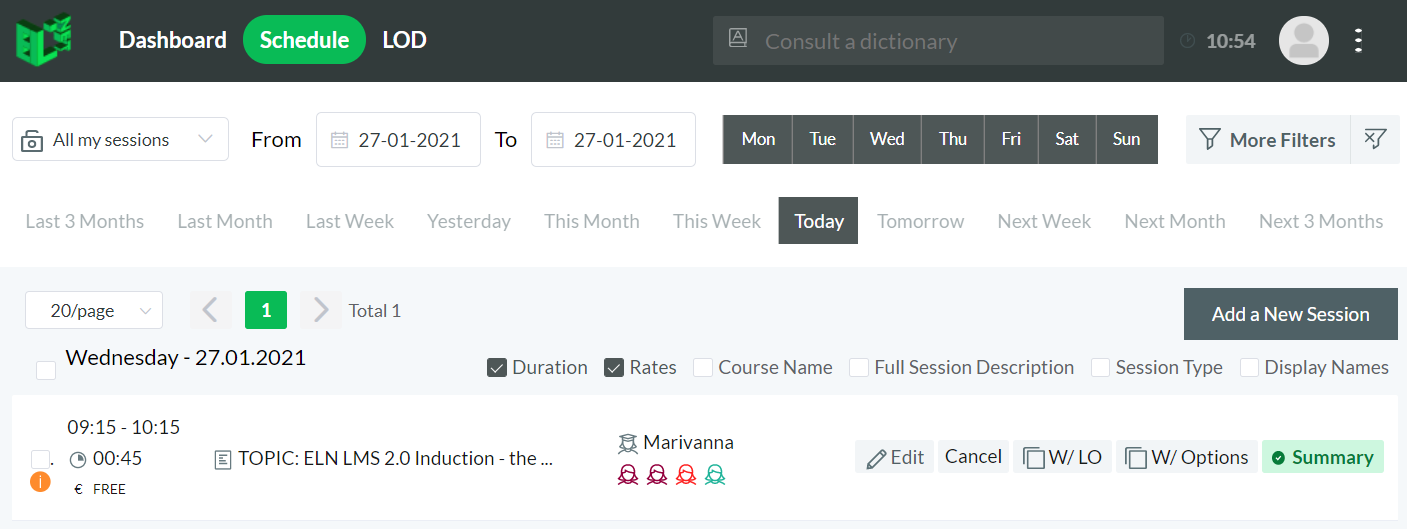
SESSION INFO at a GLANCE

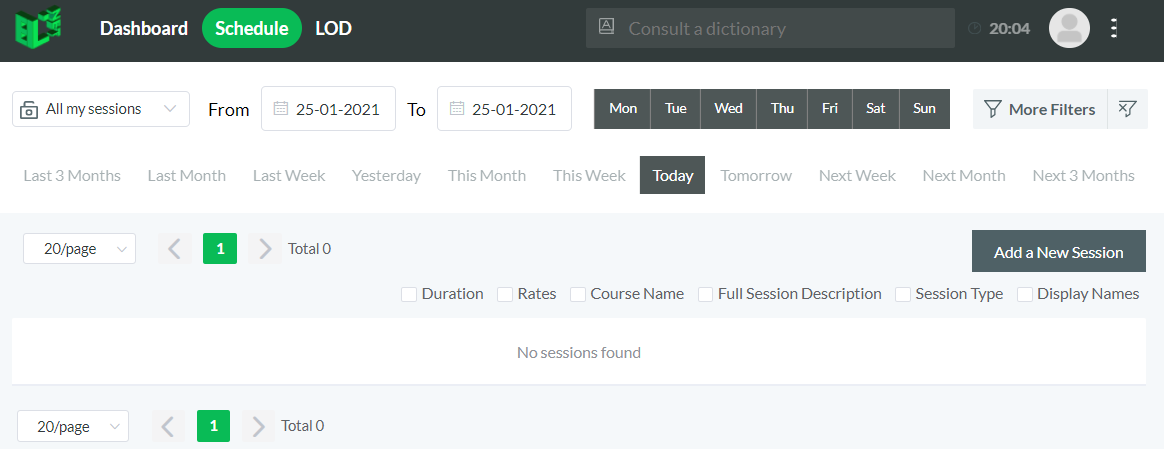
However, if you need to see more information about each session in the schedule, you can tick off some or all of the checkboxes below the “Add a New Session” button.

The ENTER Button
Both you and your students (or your live web-based event attendees) can leave and re-enter the session as often as you wish while the session in question is still in progress. For practical reasons, the ENTER button appears in the Schedule (just like on the Dashboard) 15 minutes before the session is set to start and disappears 15 minutes after the session is set to finish.
You can EDIT, CANCEL/UNCANCEL and COPY sessions at any time using the respective buttons in the Schedule.
The Summary Button
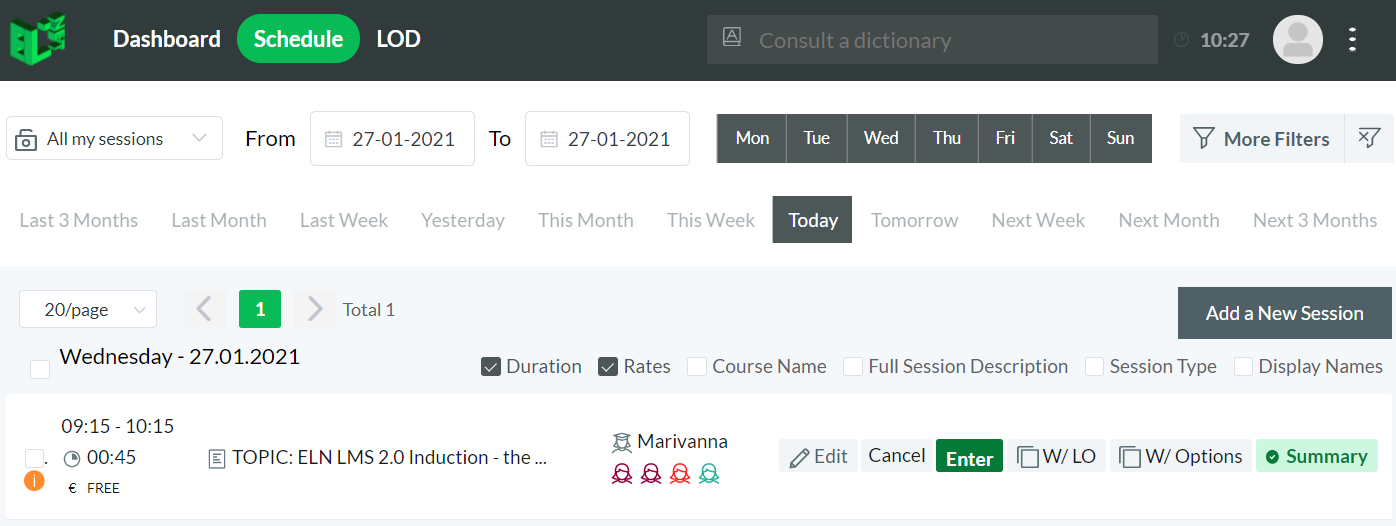
A FINISHED SESSION: SCHEDULE VIEW
Once the session is really over, the ENTER button disappears from the Schedule completely, and the session participants can no longer access the session-in-progress view. The tutor can, however, re-activate the session by resetting the time the session must finish. To get to the time and date settings of the session, the tutor clicks on the EDIT button, which is to the left of the green-coloured Summary button.
ADVANCED FILTERS

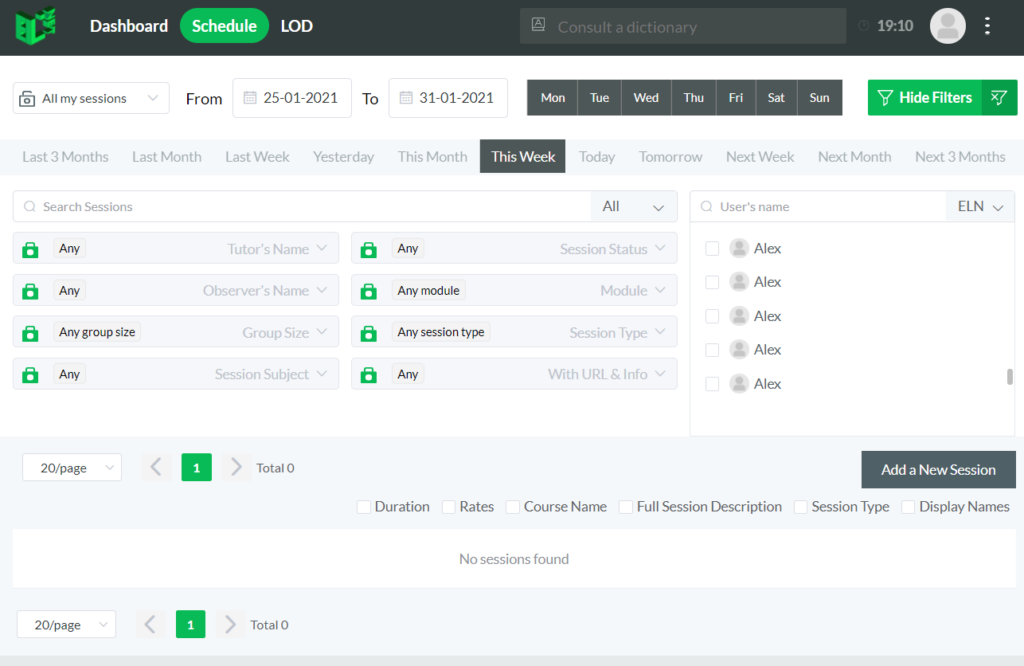
SCHEDULE FILTERS: RESTORING DEFAULT SETTINGS
Please note that hiding filters does not clear (i.e. does not reset) them. To clear filters, click on the control with the letter x with a downward pointing arrow to the right of the More Filters / Hide Filters control. This will reset all filters except locked ones.